

What to Expect When Upgrading to a LiftMaster Smart Opener
Upgrading to a LiftMaster smart garage door opener is one of the easiest ways to add security, convenience, and modern functionality to your home. Whether you're looking for quieter operation, remote access, or advanced safety features, LiftMaster’s smart technology delivers a smooth and reliable upgrade. If you’re planning a LiftMaster garage door opener installation, here’s exactly what you can expect from start to finish.
1. A Professional Assessment of Your Current System
Every garage is different, which is why the installation process begins with a quick assessment of your current setup. A technician will:
• Inspect your existing opener and mounting system
• Check the condition of the door, springs, and tracks
• Ensure your garage has adequate electrical access
• Determine the best LiftMaster smart opener model for your needs
This ensures your new system will run safely, quietly, and efficiently.
2. Choosing the Right LiftMaster Smart Opener
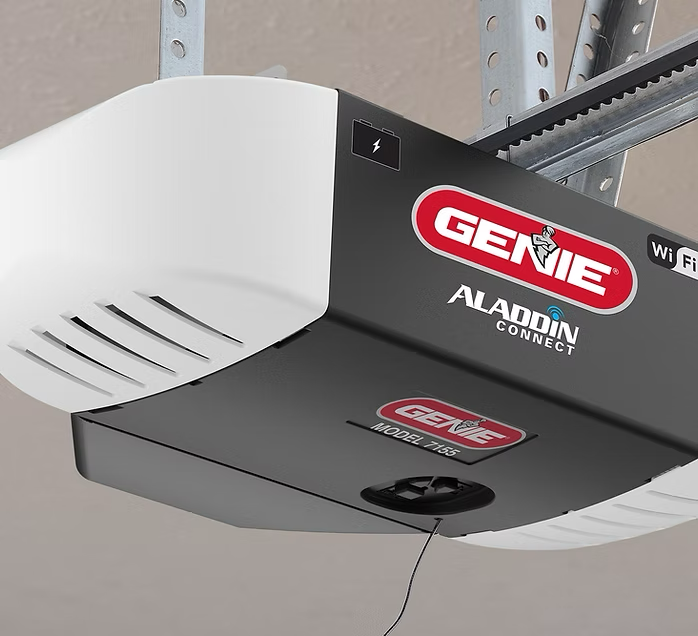
LiftMaster offers several smart openers equipped with MyQ technology, including:
• Belt-drive openers for whisper-quiet operation
• Chain-drive openers for durability and strength
• Wall-mounted jackshaft openers to free up ceiling space
• Openers with integrated LED lighting and built-in cameras
During your LiftMaster garage door opener installation, your technician will help you select the perfect model based on your door size, usage, and performance needs.
3. Safe Removal of Your Old Opener
Before installing your new smart opener, the old unit must be safely removed. This includes:
• Detaching the motor
• Removing the rail system
• Disconnecting wiring
• Inspecting the door system for wear or issues
If components like springs or rollers need attention, it’s the ideal time to address them.
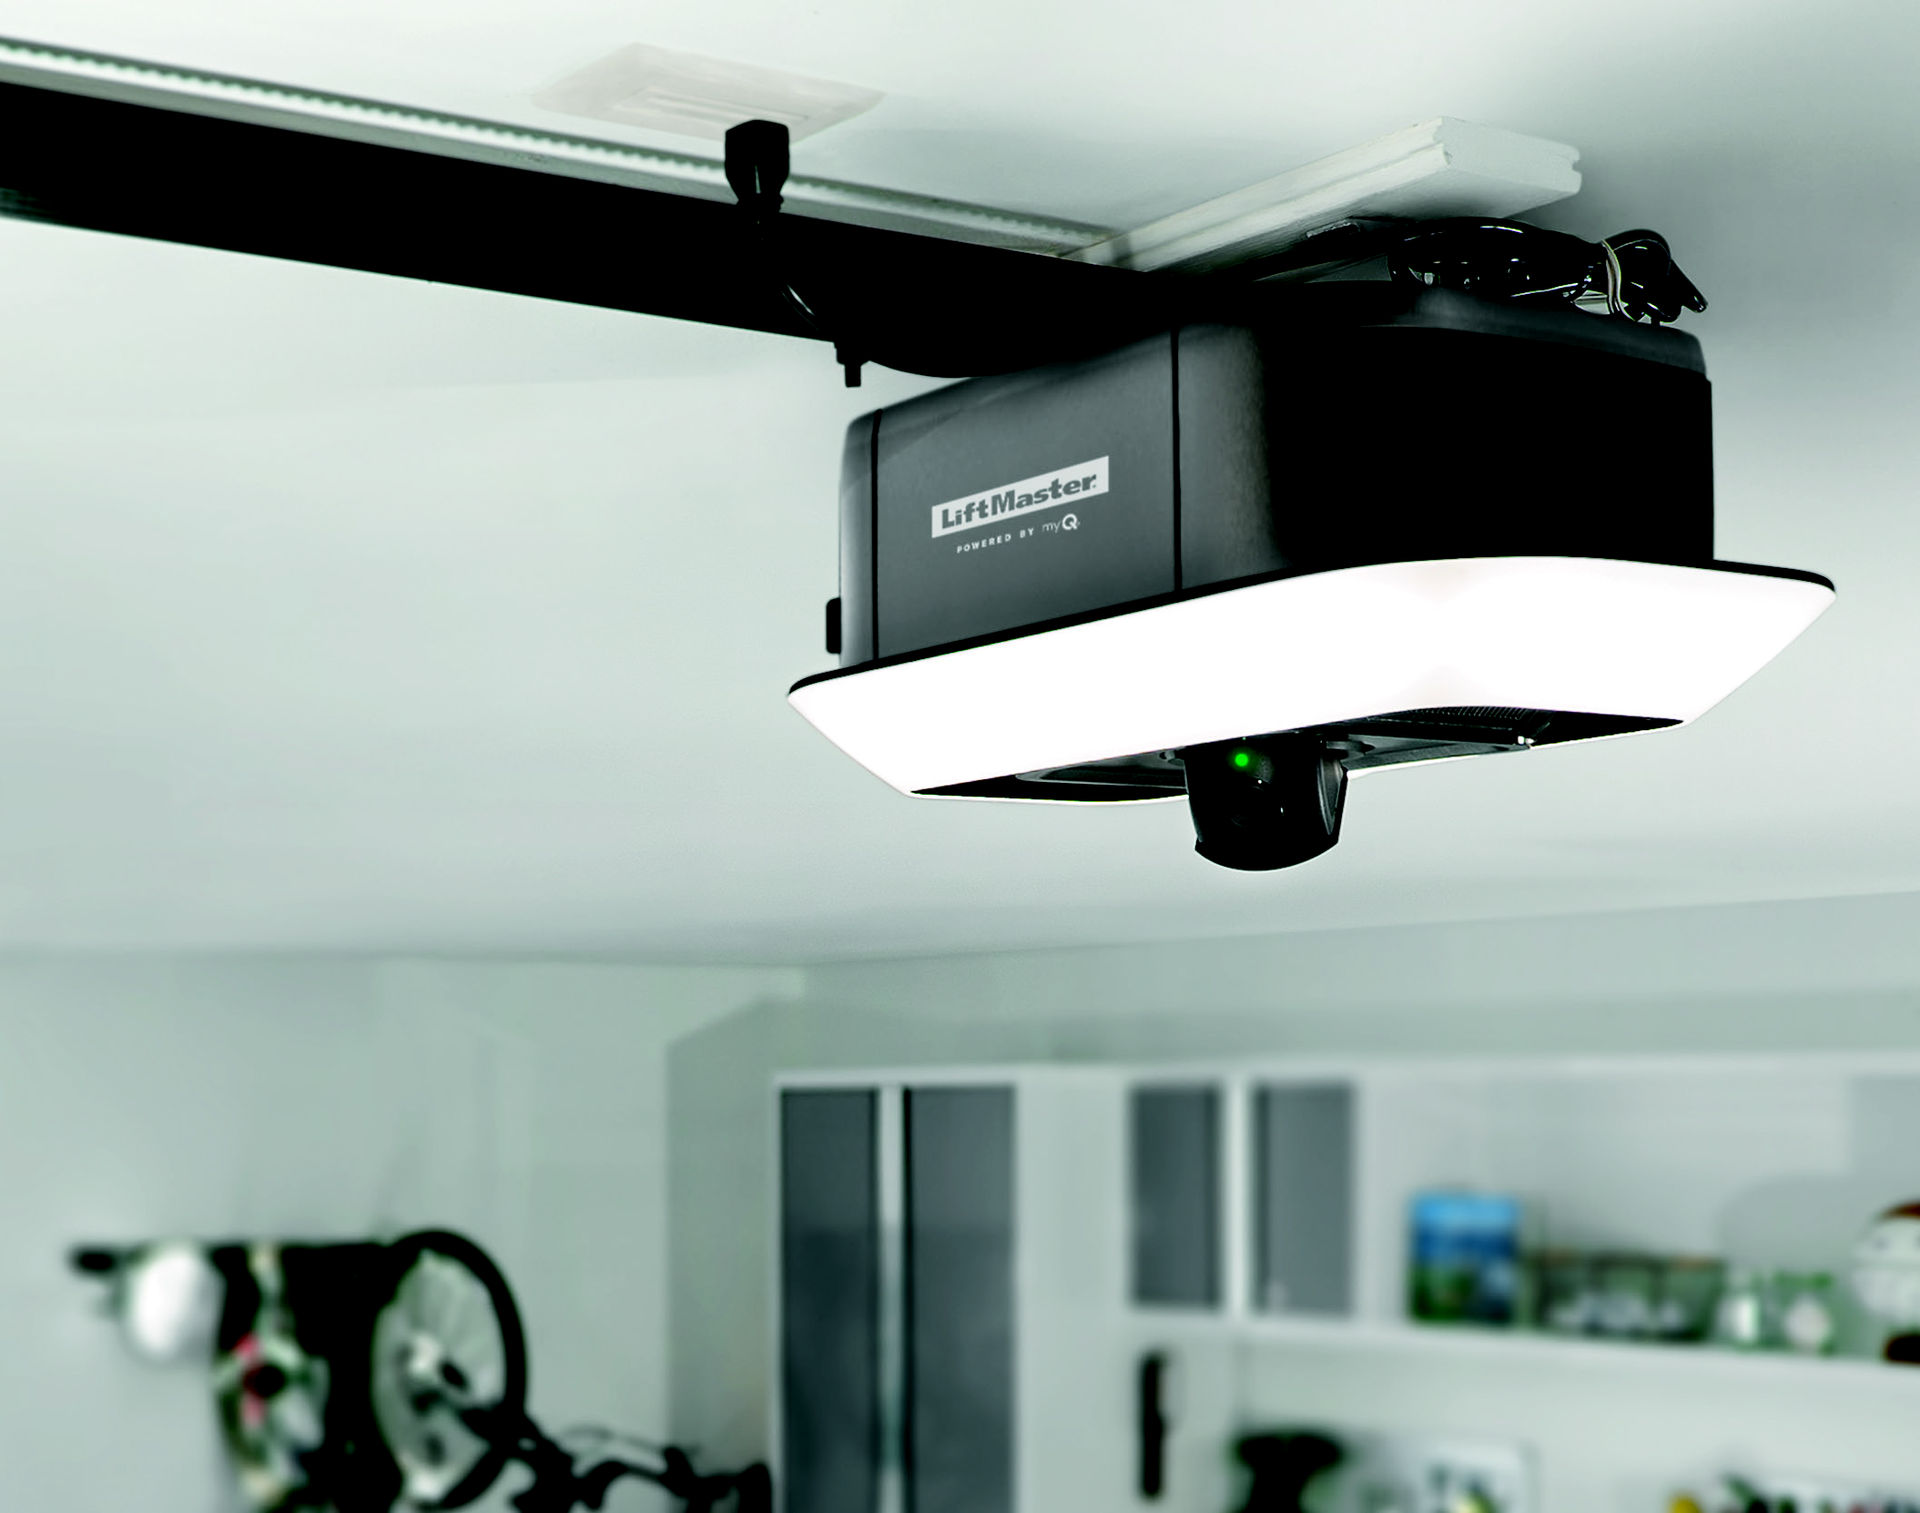
4. Expert Installation of Your New LiftMaster System
Once the old opener is removed, your technician will:
• Install the new LiftMaster motor
• Mount the rail and trolley system
• Connect the wall control panel
• Install safety sensors
This step is key because proper installation ensures smooth operation, reduced noise, and long-term reliability.
5. Setting Up LiftMaster’s MyQ Smart Features
One of the biggest benefits of upgrading to a LiftMaster smart opener is the MyQ connectivity. With the MyQ app, you can:
• Open and close your garage door remotely
• Receive real-time alerts
• Check the door’s status from anywhere
• Create schedules
• Integrate with smart home systems
When applicable, you will receive the manufacturer’s instructions for connecting your devices. Please note that DBM does not connect or configure wireless devices such as phones, apps, computers, or security systems. Some products require a strong internet connection; however, DBM is not responsible for providing or troubleshooting internet connectivity.
6. Full System Testing and Safety Check
Before finishing, the installer will test:
• Door balance and movement
• Safety sensors
• Auto-reverse features
• Motor performance
• Remote controls and keypad
This ensures your new LiftMaster opener operates safely and meets manufacturer standards.
7. Cleanup and a Quick Tutorial
Once installation is complete, the technician will:
• Remove all packaging
• Review how to use your new opener
• Provide maintenance tips
• Answer any questions
By the time they leave, your garage door will be running smoother, quieter, and smarter than ever.
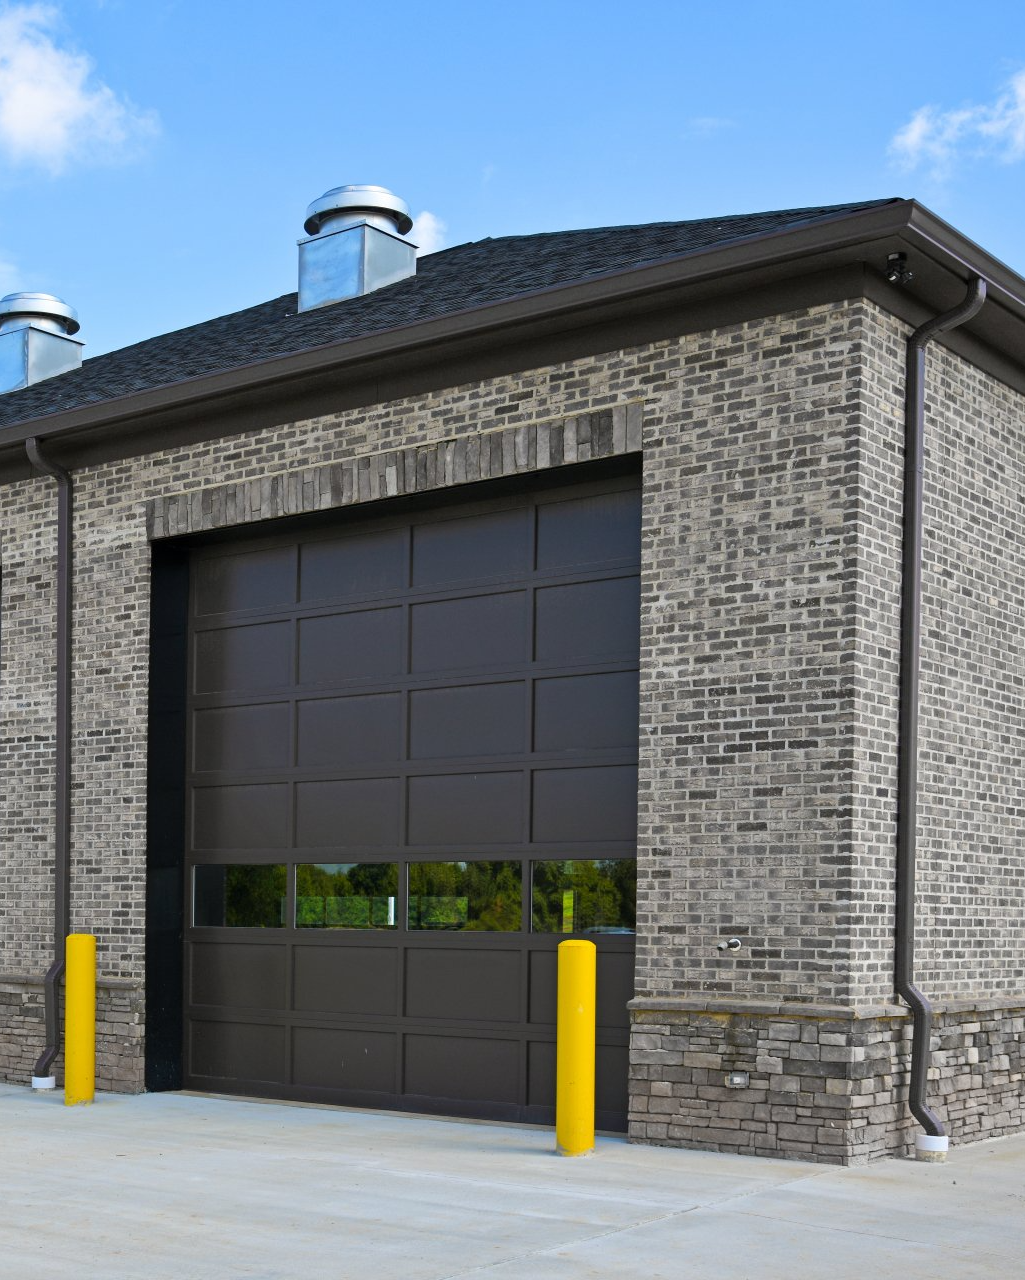
Upgrade to a Smarter, Safer Garage Door
If you're ready for a smoother, more reliable garage door experience, upgrading to a LiftMaster smart opener is one of the best investments you can make. With advanced technology, improved security, and long-lasting performance, LiftMaster continues to lead the industry.
For professional and stress-free LiftMaster garage door opener installation, Doors by Mike has you covered. Call 770-922-5207 or click Book Now to enjoy a smarter, safer home, starting with your garage door.